Snowy Pine Cone II
Lay them flat on a newspaper and allow them to dry for a few hours or overnight. If you want them to dry faster you can set them in the sun or use a fan to speed the process. Be sure to turn them over for even drying. Once they are dry, take the 14- 4 inch strips of jute & tie one onto the bottom of each pinecone.

The Easiest DIY Snow Covered Pinecones Kindly Unspoken
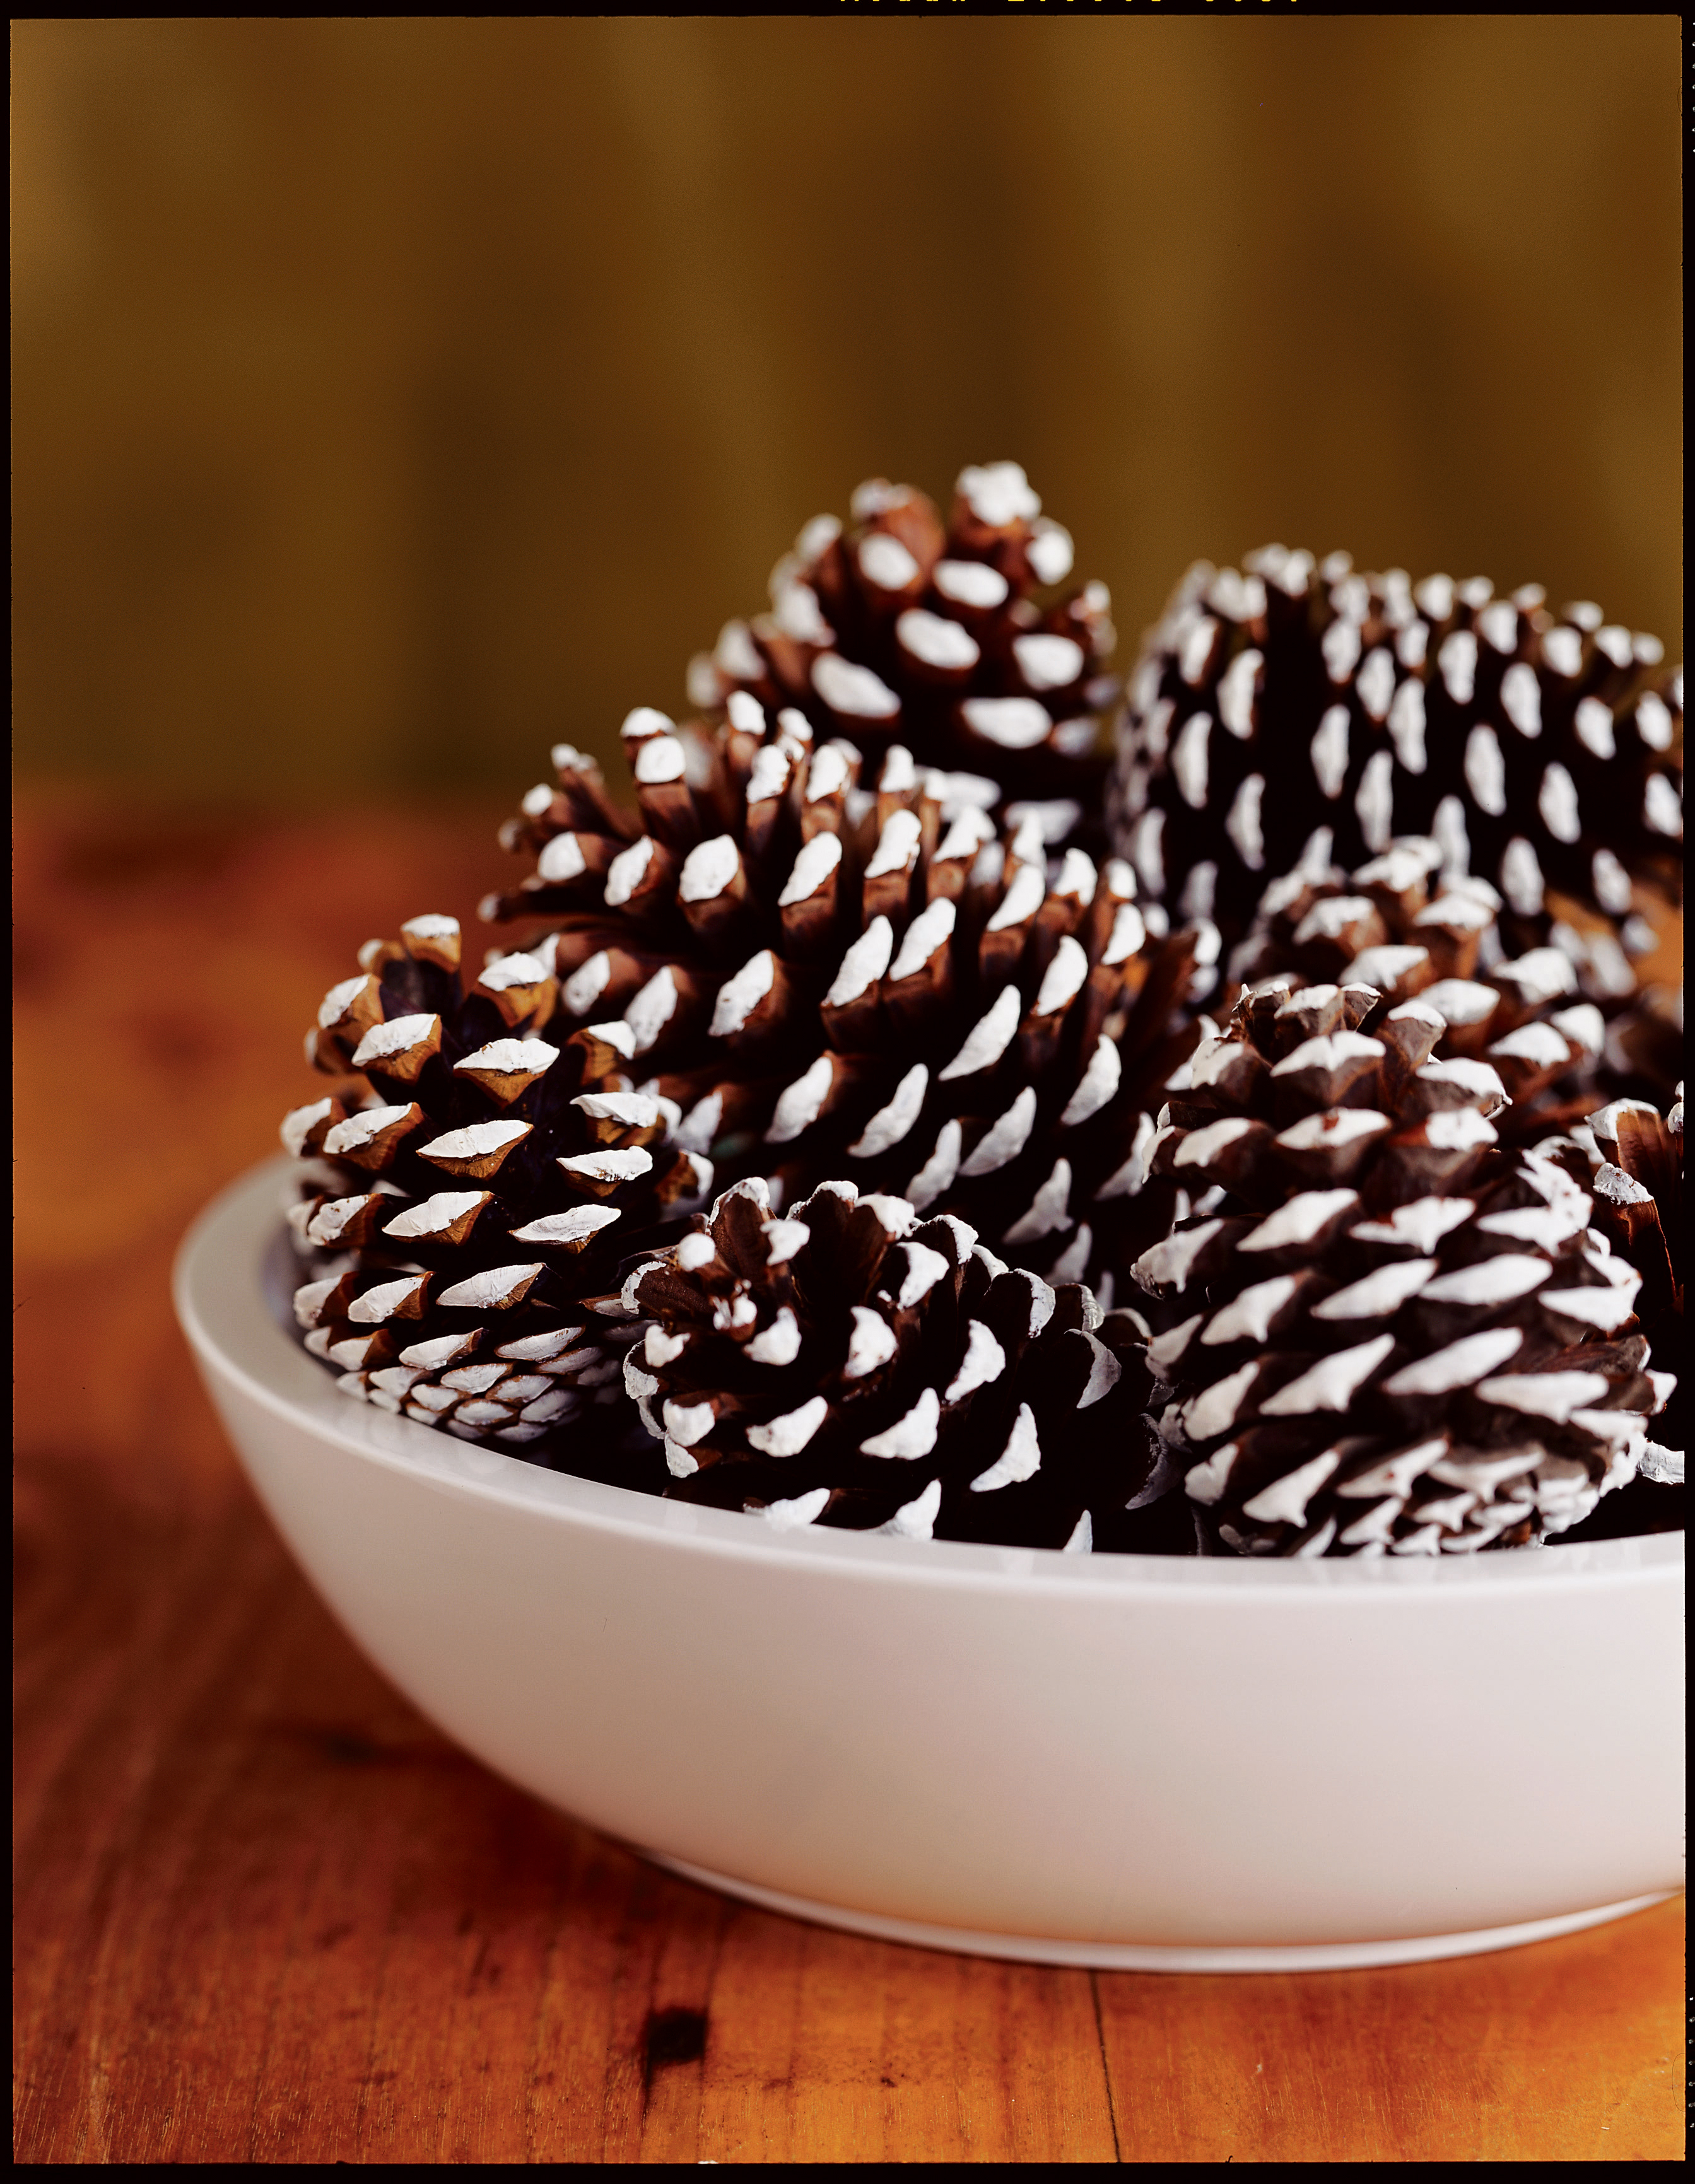
Step 3. Sprinkle the pinecones with fake snow while the paint is still wet. While the paint is still wet sprinkle the faux snow mixture over top of the pinecones. The Epsom salt and glitter mixture will stick to the paint and look like little puffs of snow sitting on top. Allow the pinecones to fully dry.

Snowy Pinecone Christmas Tree Stock Image Image of pine, decor 34403275
Mix the chocolate-hazelnut spread, peanut butter and melted butter in a medium bowl. Stir in the confectioners' sugar until completely combined. Form 1 heaping tablespoon of the peanut butter.

Snowy pinecones 5 Free Photo Download FreeImages
Instructions. Mix the peanut butter, Nutella, butter and powdered sugar in a bowl. Take a pretzel rod and mold some of the mixture around it, forming a slight cone shape. Hold it steady by using the tip of the pretzel as a handle, and start inserting pieces of cereal into the mixture in a symmetrical pattern around the stick.

Pin van Rachael Powell "MyssP" op Forest Living Winter
For the full instructions visit: https://onelittleproject.com/frosted-pinecones/It's so fun to make these frosted pinecones and it's SO EASY to make pinecone.
Snowy pinecone centerpiece Sunset Magazine
Pulse 1 cup grahams in a food processor until fine crumbs form. In a large bowl, beat butter, Nutella, cookie spread and 3 cups confectioners' sugar until smooth; stir in crumbs. Mold 1/4 cup dough around a pretzel rod in a cone shape to within 1 in. of top; place on a waxed paper-lined baking sheet. Starting at the bottom, insert tail ends of.
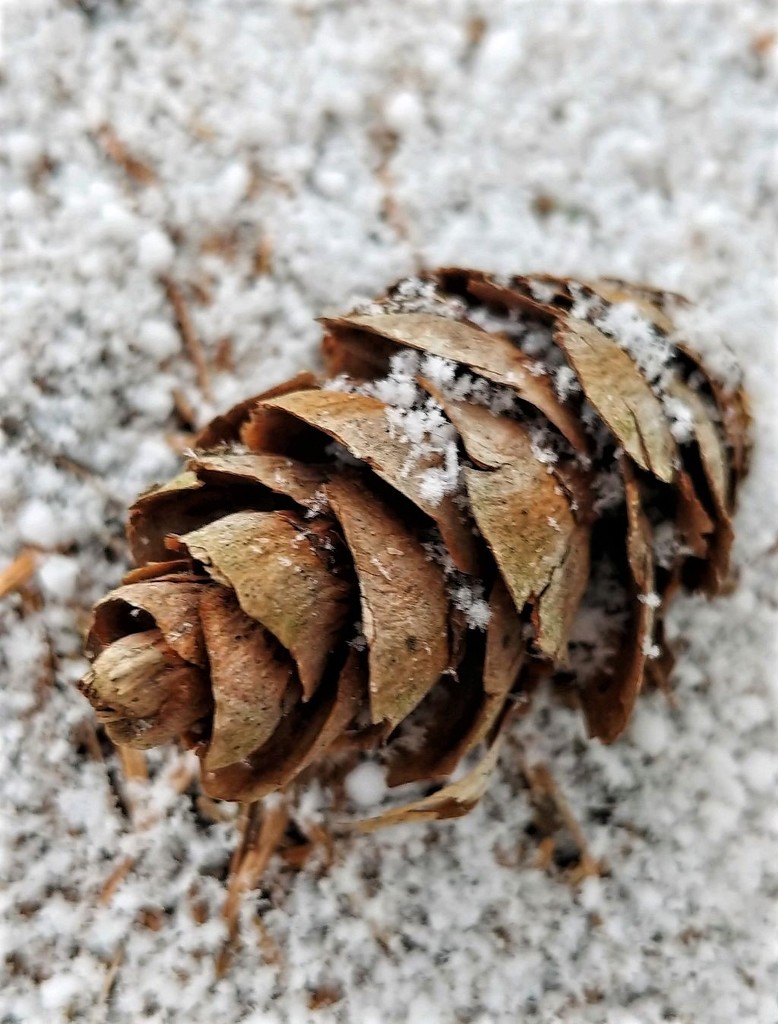
Snowy Pinecone by Jo · 365 Project
Pinecone Snowflake Wreath Instructions. Turn the wreath form into a snowflake shaped base by weaving six (6) wooden paint stirrers through the edges. Secure with hot glue if necessary. Cut the three (3) remaining stir sticks in half. Lay cut stir sticks in the center of the wreath on top of stirrers to form a hexagon. Secure with hot glue.
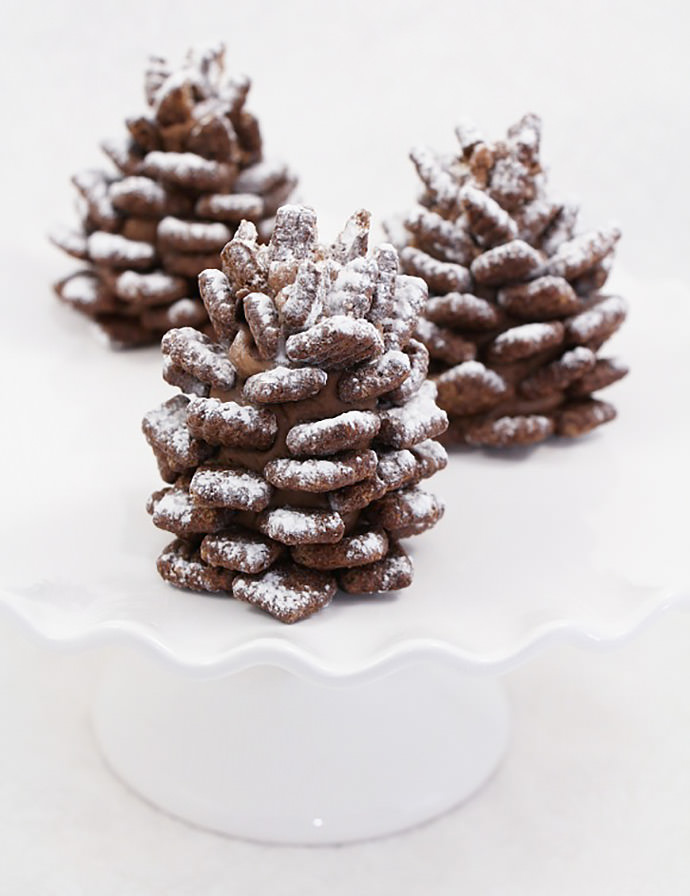
Quick and Easy Snowy Chocolate Pinecones Recipe
These frosted pinecones are such a fun and inexpensive winter decoration! It's SO EASY to give these pinecones a gorgeous snowy look. Simply cover pinecones in glue and white paint, and them roll them in epsom salt and glitter! Add these frosted pine cones to a centerpiece, or attach an ornament hanger to display them on the Christmas tree. Either way, these pinecones covered in glittery 'snow.
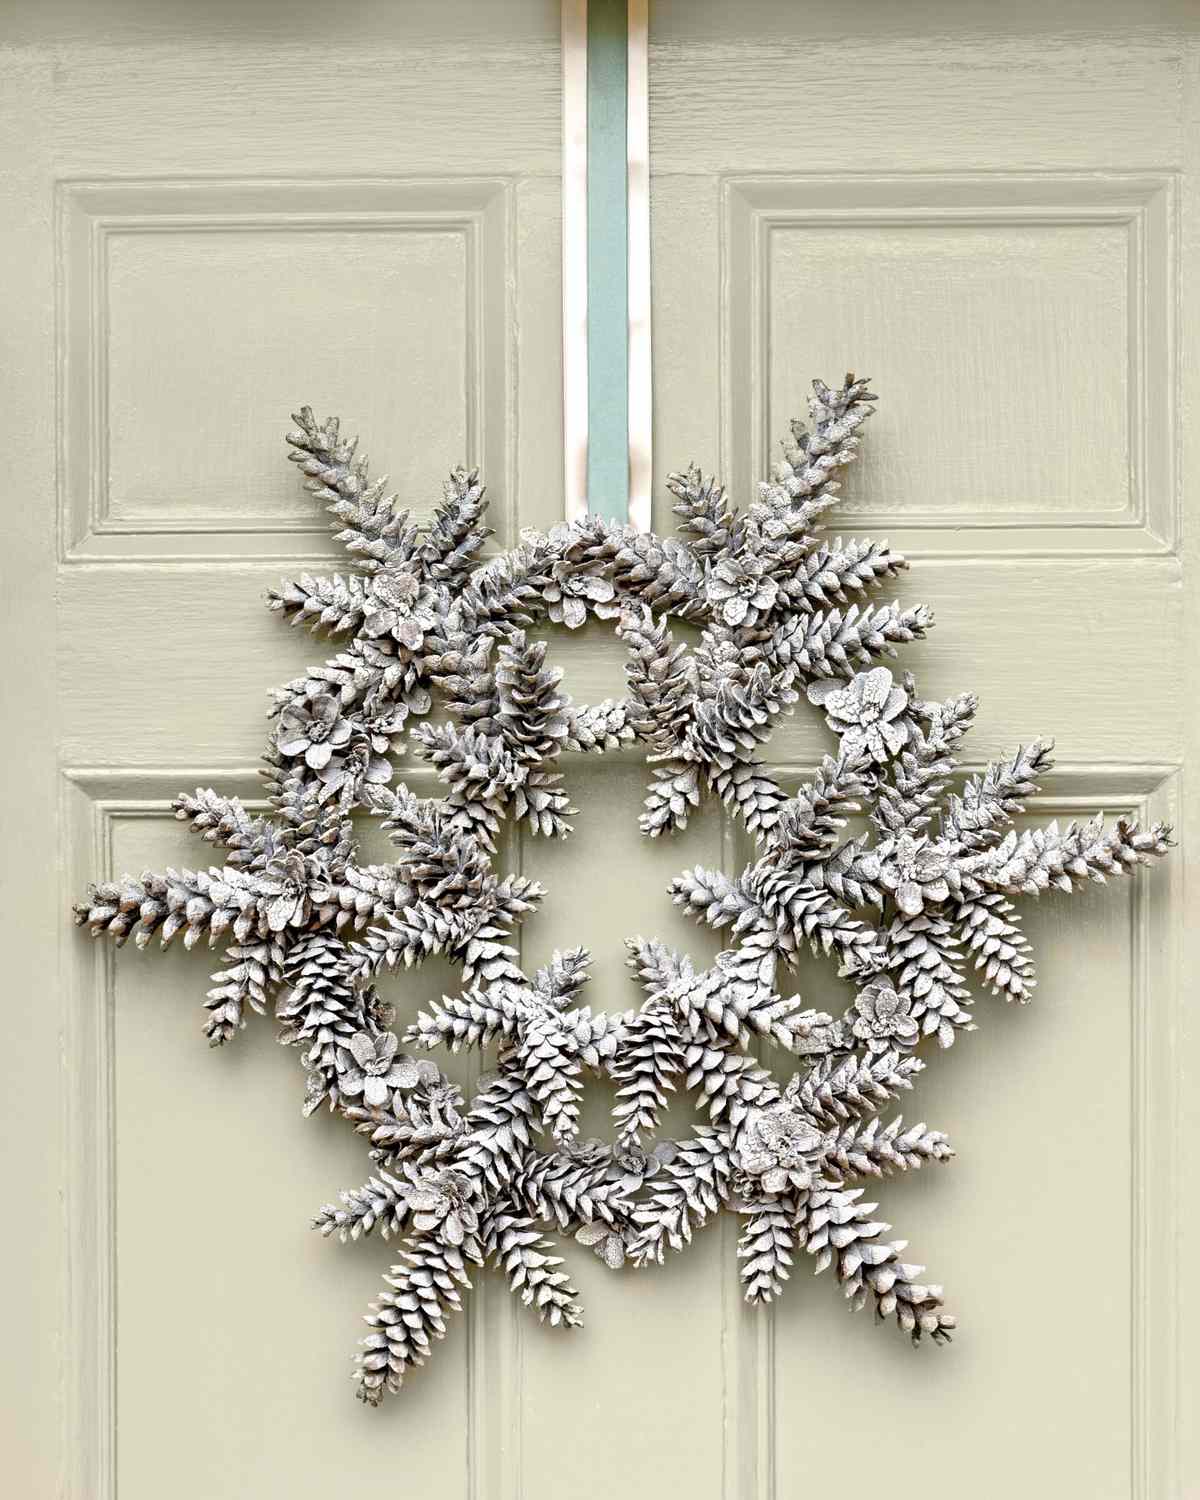
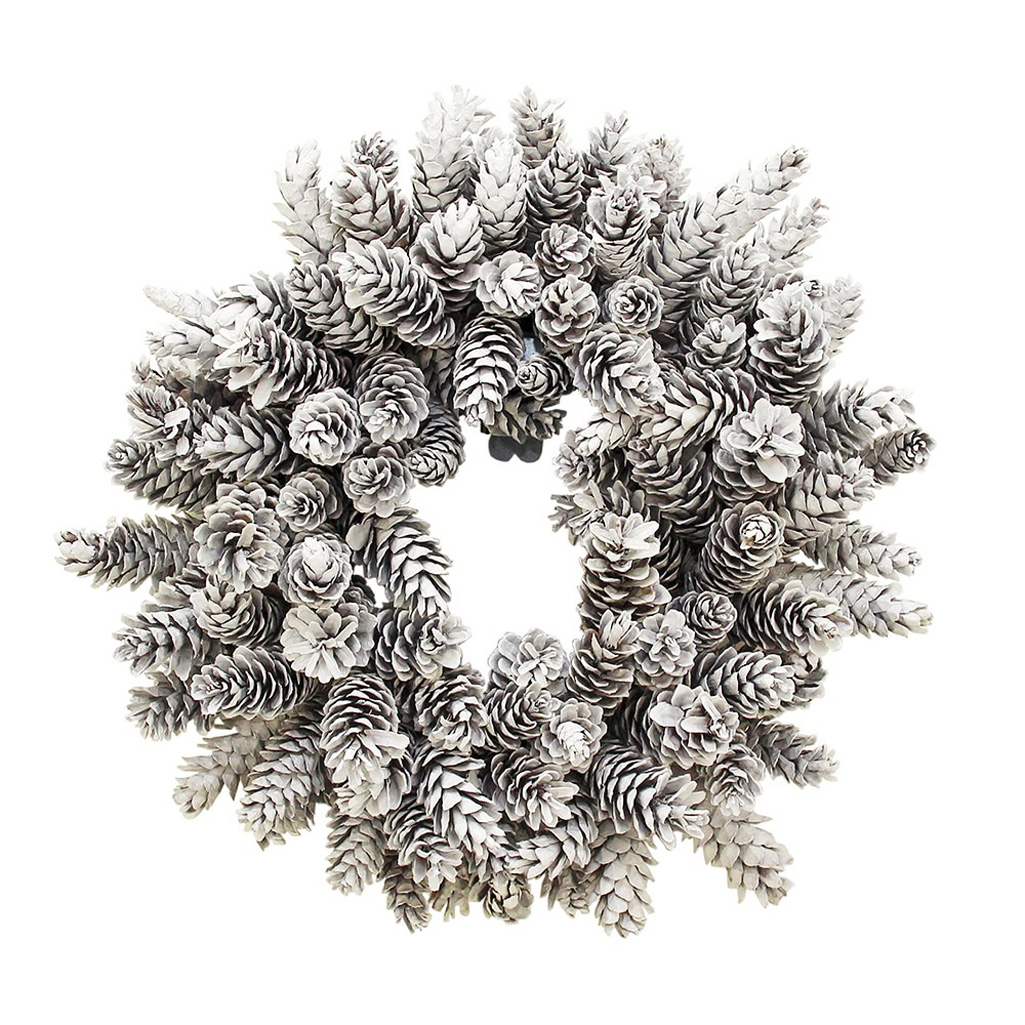
Snowy Pinecone Wreath Southern Living
Instructions. In a mixing bowl, fold together peanut butter, Nutella, vanilla extract. Once combined, slowly add in powdered sugar a little at a time making sure to smooth any lumps or bumps. You should have a thick dough consistency. Divide mixture into 6 equal parts. Using your hands, mold the individual sections into cone shapes.

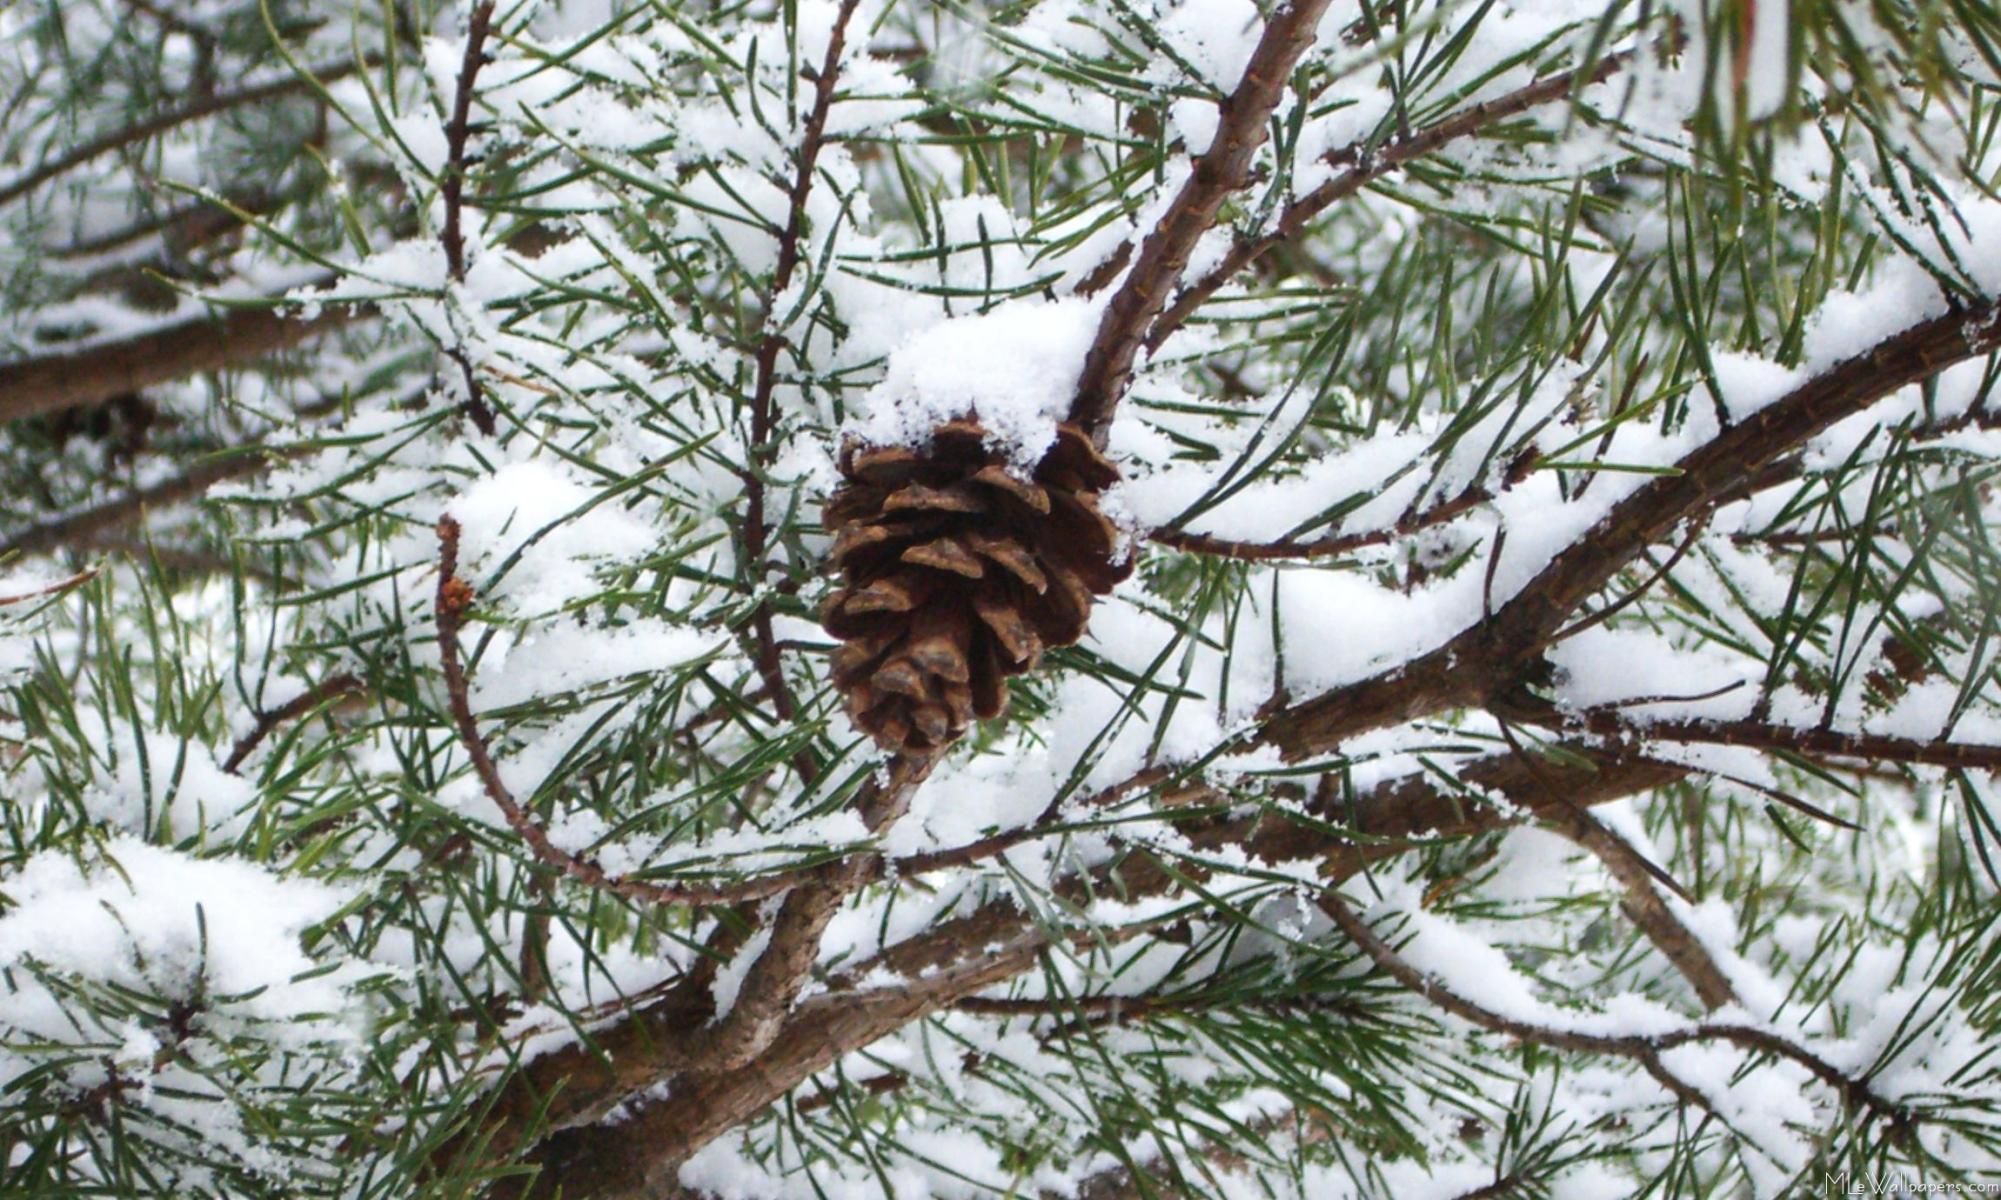
Snowy pinecone stock photo. Image of winter, cold, tree 12603566
Metal wreath form. Pinecones. Hot glue. Regular glue - not the washable kind. SnoFlock or white spray paint. Berries. Ribbon. Before you begin, tie some yarn or ribbon to make a hook for hanging. Then start hot gluing the pinecones to the inside of the frame, in whatever position you like, once you finish do this to the outside of the frame.

Christmas Pine cone Snow tipped Pine Cone Frosted Pine Etsy
Once all the pinecones have been covered with snow, allow them to dry for at least 10-15 minutes. Once dried, take each pinecone and shake off the excess salt on the pan by turning it different directions and upside down. I also found using a clean foam brush and gently tapping the outside edges of the pinecone helped with this step as well.
How To Make DIY Snow Covered Pinecones My Slice of Suburbia
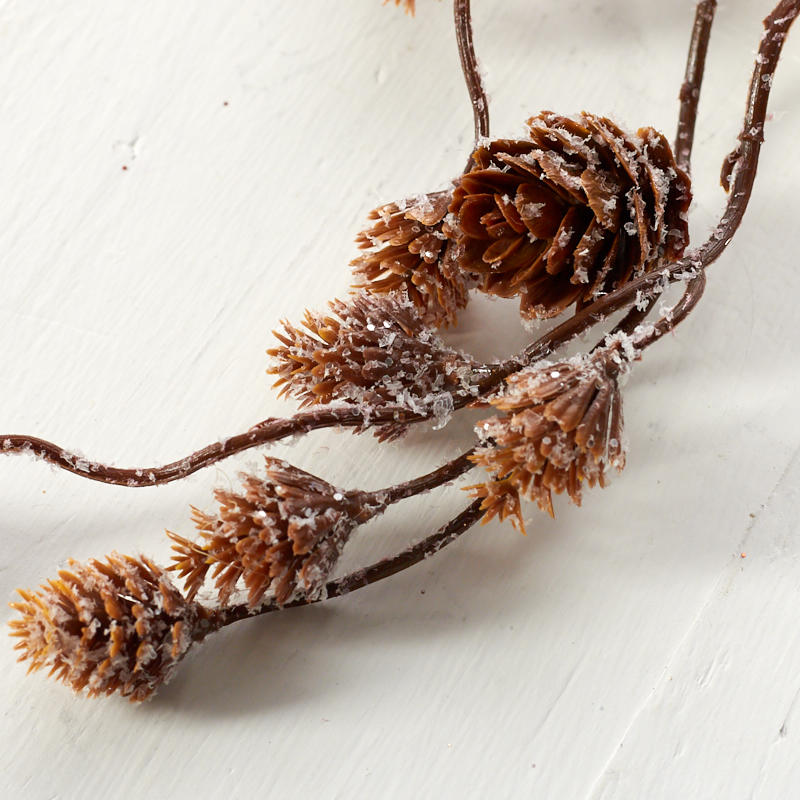
Technique 1: How to make DIY snow covered pine cones & branches with salt or epsom salt. This fun and fast technique is great for use indoors, or outdoors where it's protected from rain.. REALLY HELPFUL TIP: the difference between salt and epsom salt is that if you use them on fresh branches, epson salt ( or the technique 2 & 3 ) works better because salt can discolor the green foliage after.
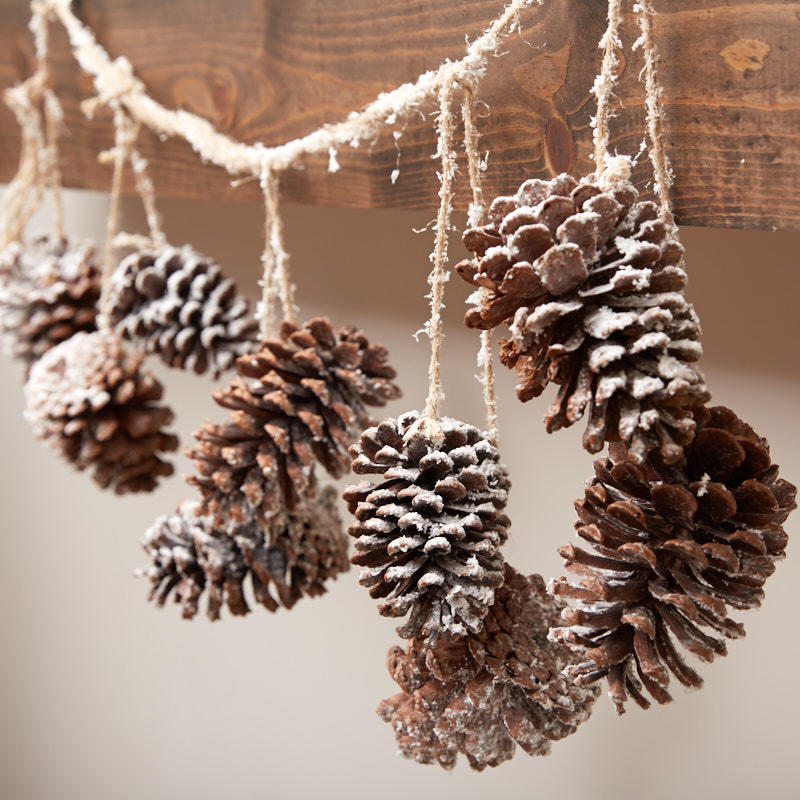
Snowy Natural Pinecone Garland Wall Art Christmas and Winter
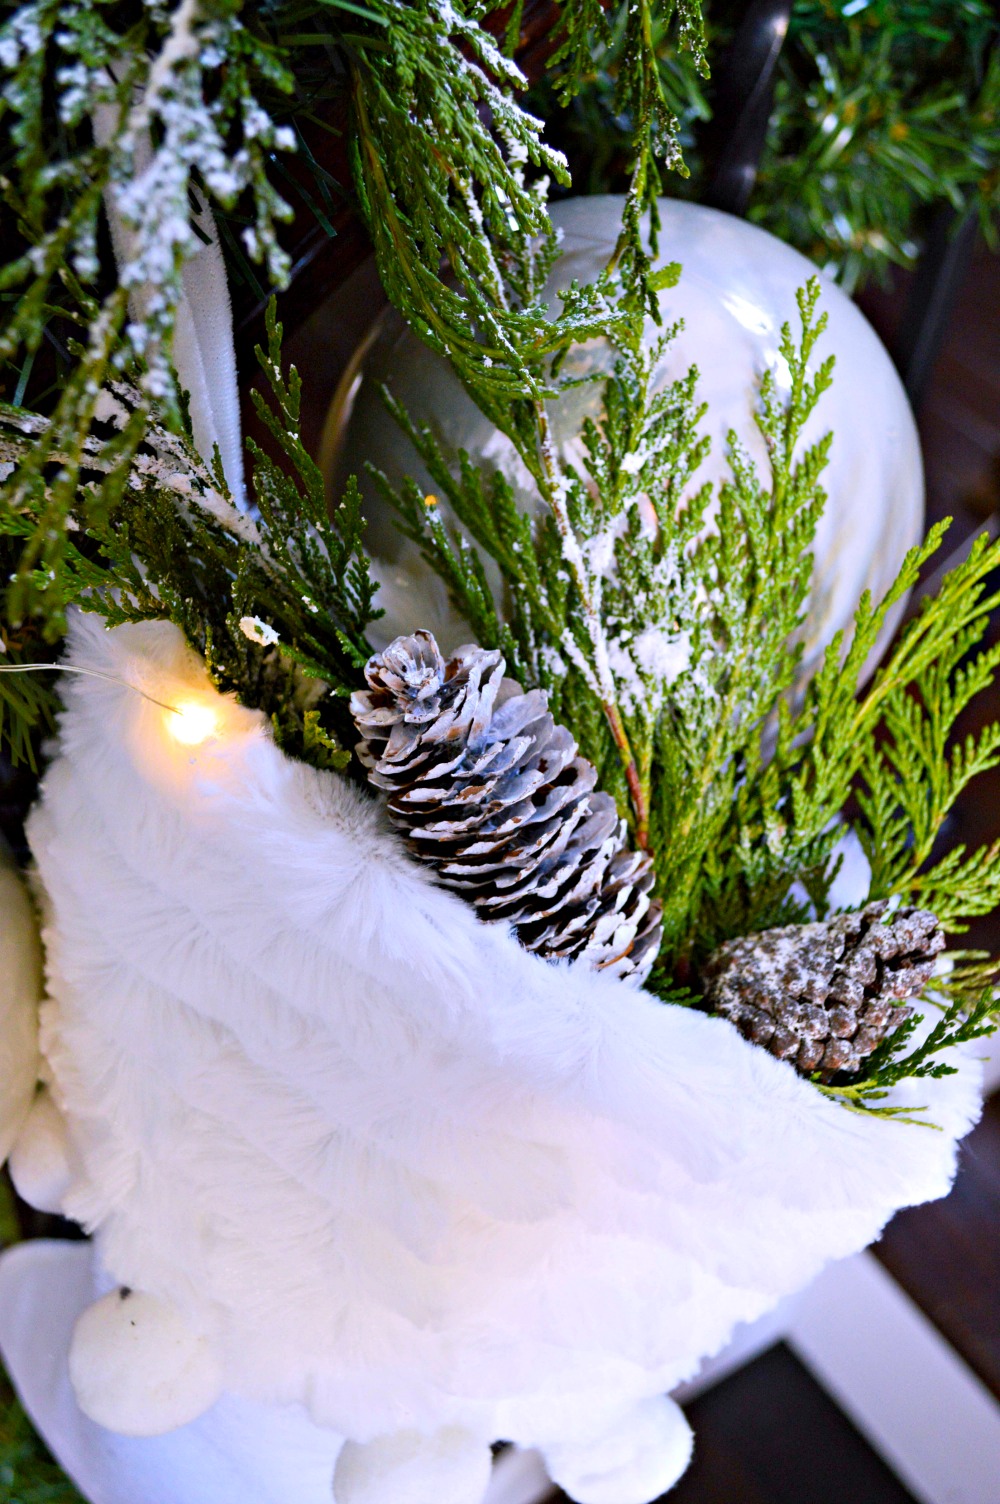
Snowy Pinecone Christmas Tree. It's a joy to welcome you back to Christmas at Bayberry House. After sharing my living room mantel decor a couple of weeks ago, we needed a tree to coordinate with it. Say hello to what I'm calling my Snowy Pinecone Christmas Tree. I went into this tree somewhat without a plan.
Artificial Snowy Mini Pinecone Pick Factory Direct Craft
DIY Snowy Pinecones. Making your own snowy pine cones is easy to do. You only need flocking powder, water, and pine cones. Buy a bag of pine cones from the craft store or go on a scavenger hunt with the kids around the neighborhood. If you bring in pine cones from nature, you'll want to clean them to get rid of any bugs hiding inside.
Snowy Pinecone Wreath The Green Head
pinecones. Aleene's Glitter Snow. paint brush. To make the snowy pinecones, just paint on a decent amount of the glitter snow product to the tips of each pinecone. Then set aside to let dry (at least overnight, but 24 hours is suggested). That's it!
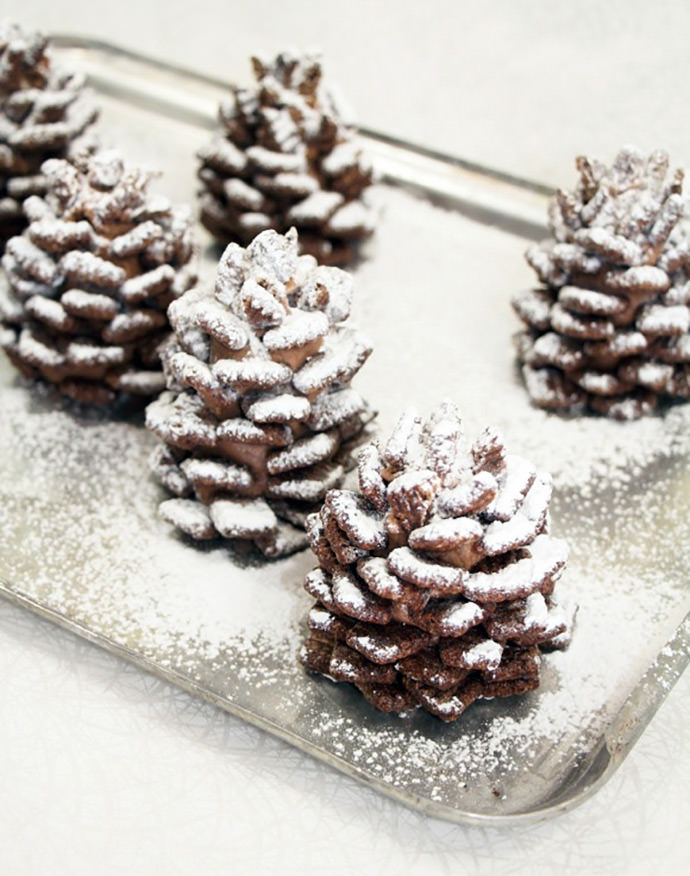
Quick and Easy Snowy Chocolate Pinecones Recipe
Step 1. Mix the peanut butter, Nutella, butter, and powdered sugar in a bowl. Step 2. Take a pretzel stick and mold some of the peanut butter mixture around it, forming a slight cone shape. Step 3. Holding it steady by using the tip of the pretzel as a handle, start inserting pieces of cereal into the peanut butter mixture in a symmetrical.
